Waiter App
Setting Up a Waiter Account by the Administrator in Menoo Partners
Guide for administrators on adding and configuring waiter accounts in the Menoo Partners platform
This documentation guides restaurant administrators through the process of adding and configuring waiter accounts in the Menoo Partners platform. Proper creation and management of employee accounts is essential for staff to efficiently use the Menoo Waiter app, designed for operational management (waiter, cook/bartender, delivery driver), and to access relevant information in real time.
Access URL: https://parteneri.menoo.ro/ro/dashboard/users
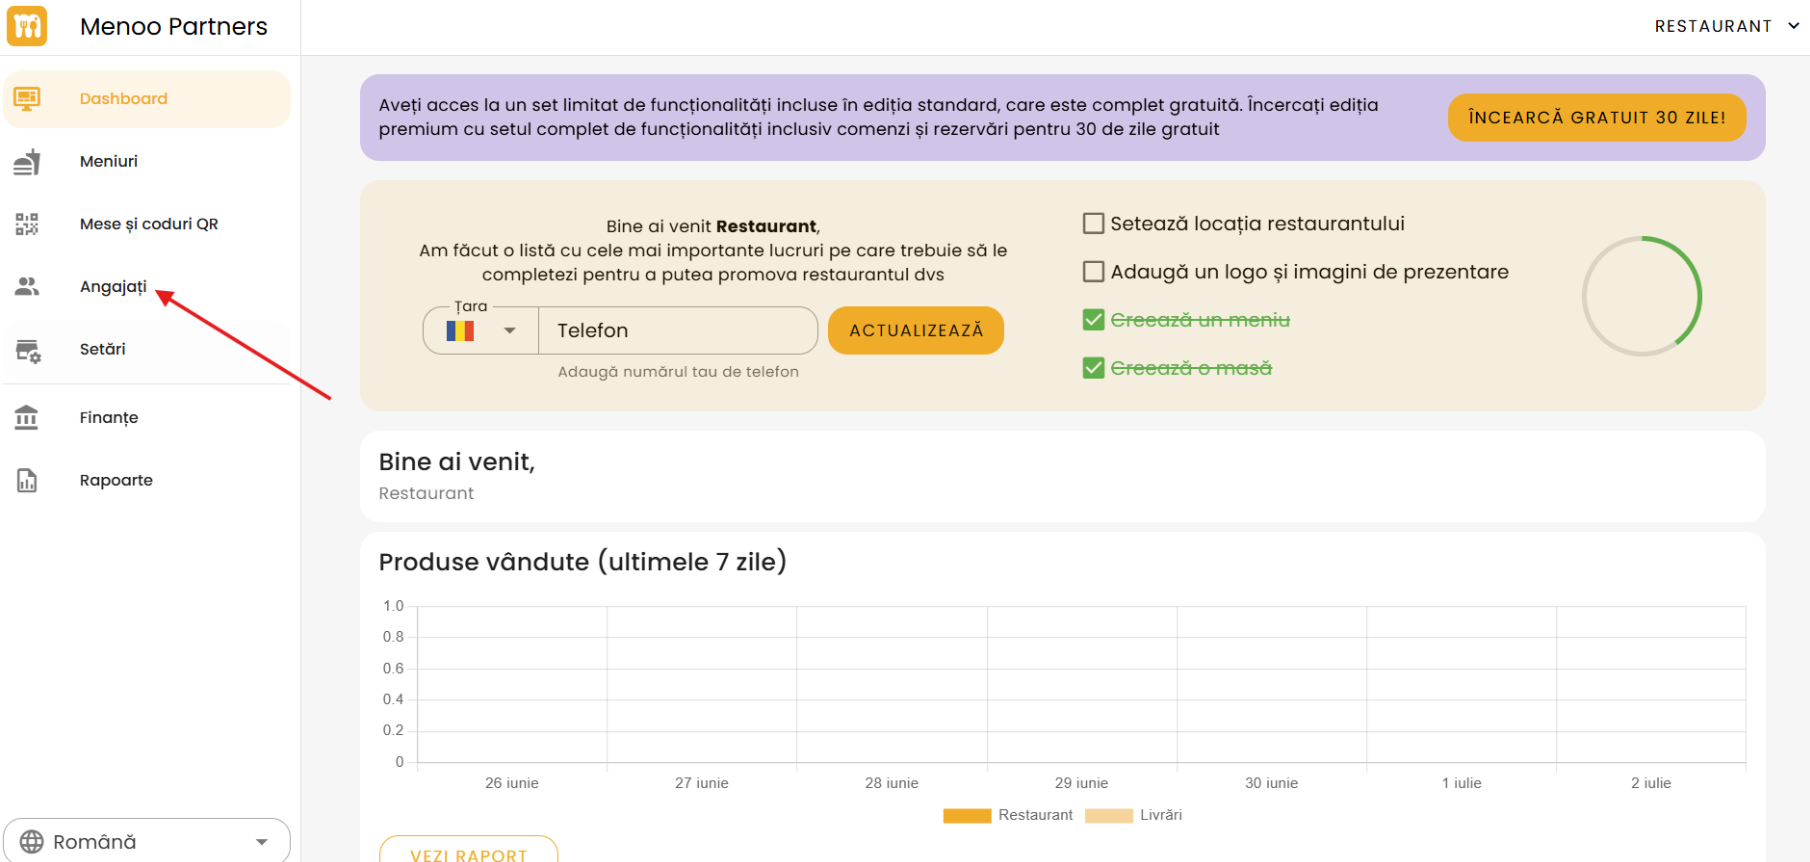
1. Accessing the "Employees" Section
- Log in to your Menoo Partners account.
- From the left sidebar, select the "Employees" option.
2. Overview of the "Employees" Section
- The page displays a list of all registered employees on the platform.
- An informational note explains the purpose of the section: "Add your employees in this section. They will be able to log in to the Menoo Waiter app using the email and password you assign. Through this app, staff will have access to real-time information and notifications about orders and other important aspects."
- Download links for the Menoo Waiter app are available for App Store and Google Play.
- The employees table includes the columns:
- Full name
- Phone
- Role
- Actions (edit / delete)
3. Adding a New Employee (Waiter)
To add a new waiter to the system:
- Press the "+ ADD EMPLOYEE" button.
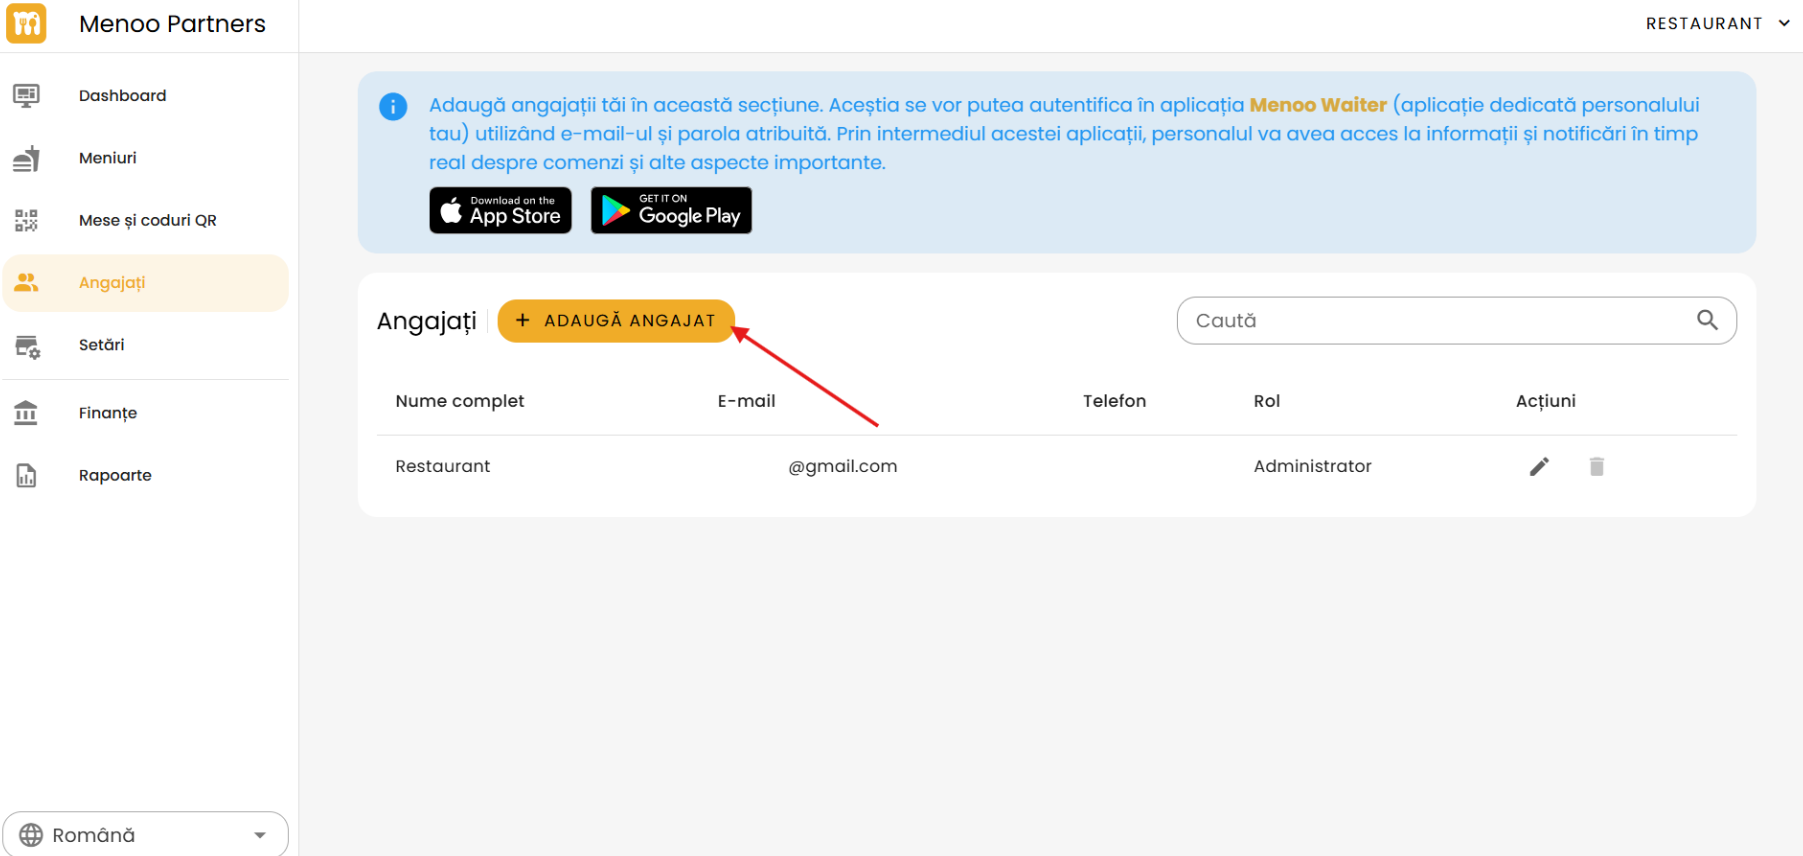
- A window/page titled "Add Employee" opens.
3.1. Fill in the Employee Details
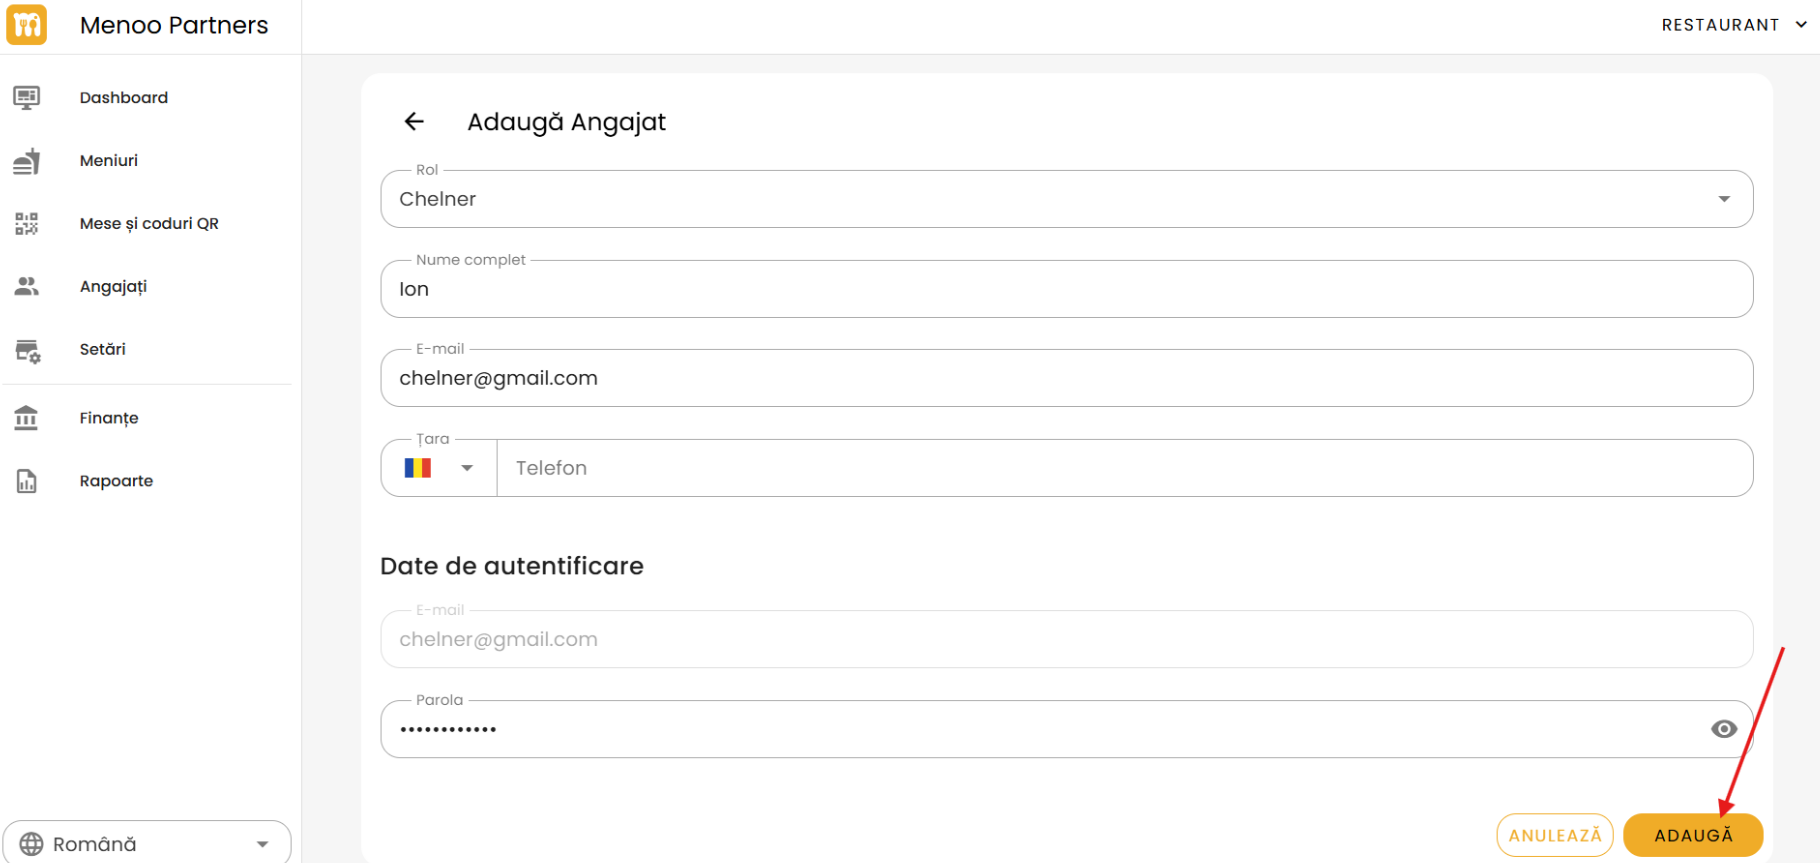
- Role: Select
Waiterfrom the available list (other options: Administrator, Bartender, Cook). - Full name: Enter the waiter's full name.
- Email: The email address also used as the username.
- Phone: Phone number (including international prefix).
- Password: Set a password (which will be used later by the waiter to log in). It can be temporarily displayed by activating the "eye" icon.
3.2. Finalization
- Press the "ADD" button to save the account.
- To cancel, use the "CANCEL" button.
4. Managing Existing Employees
In the employees table, the "Actions" column contains:
- Edit: Allows modifying details and password (pencil icon).
- Delete: Allows removing an employee from the system (trash icon).